A fine dining service training manual is essential for standardizing service protocols, ensuring consistency, and aligning staff with restaurant standards to enhance customer experience and professionalism.
Importance of a Training Manual in Fine Dining
A fine dining service training manual is crucial for standardizing service protocols, minimizing inconsistencies, and ensuring all staff adhere to high standards. It provides clear guidelines, reducing errors and building confidence in new hires. By outlining expectations, it fosters professionalism and aligns the team with the restaurant’s brand identity. Regular refresher training and mystery dining programs further ensure service quality. This document serves as an ongoing reference, helping staff master nuanced hospitality skills and deliver exceptional customer experiences consistently.

Overview of Fine Dining Standards and Expectations
A fine dining service training manual outlines the high standards and expectations required to deliver exceptional customer experiences. It ensures staff understand the importance of professionalism, attention to detail, and synchronized service techniques. From greeting guests to handling payments, the manual provides a clear sequence of service steps. It emphasizes the need to anticipate guest needs, maintain a clean and elegant ambiance, and uphold the restaurant’s brand identity. By adhering to these standards, staff can consistently provide flawless service, ensuring customer satisfaction and loyalty.
Foundational Knowledge for Fine Dining Service
Foundational knowledge in fine dining service includes understanding service protocols, staff roles, and brand standards to deliver exceptional experiences, ensuring alignment with restaurant values and guest expectations.
Understanding Fine Dining Etiquette
Understanding fine dining etiquette is crucial for delivering exceptional service. It involves greeting guests warmly, avoiding interruptions during conversations, and anticipating needs without being intrusive. Staff should maintain a professional demeanor, ensuring seamless interactions. Etiquette also includes proper table settings, synchronized service techniques, and respectful communication. Mastery of these elements ensures a refined and memorable dining experience, aligning with the restaurant’s brand and guest expectations for sophistication and hospitality.
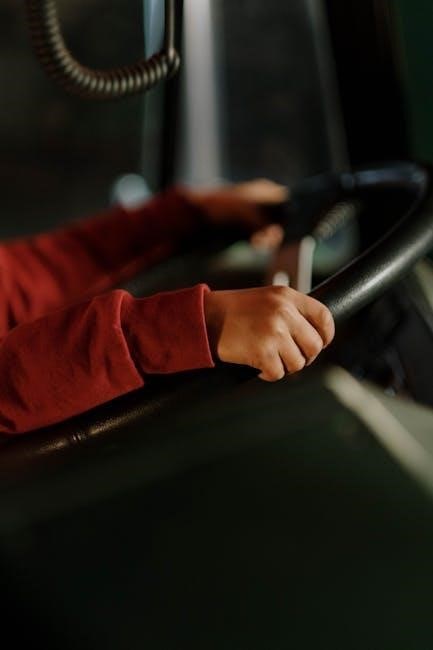
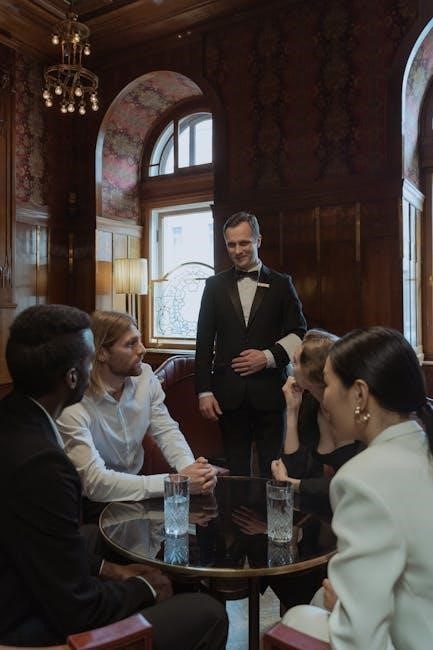
The Role of Staff in Fine Dining Establishments
Staff in fine dining establishments play a pivotal role in creating a memorable experience. Their responsibilities include greeting guests, managing table settings, and delivering synchronized service. Servers must anticipate needs, maintain professionalism, and ensure seamless interactions. Hosts and sommeliers also contribute by managing reservations and wine pairings. Every team member’s performance directly impacts customer satisfaction and the restaurant’s reputation. Proper training and adherence to etiquette are essential for staff to excel in their roles and uphold the establishment’s high standards.
Essential Terminology in Fine Dining Service
Understanding key terminology is crucial for fine dining service. Terms like amuse-bouche (a small appetizer), sommelier (wine expert), and mise en place (preparation of ingredients) define the experience. Knowledge of phrases like “du jour” (of the day) and “table d’hôte” (fixed menu) ensures clarity. Familiarity with wine terms, such as “tannins” and “vintage,” enhances service. Mastery of these terms ensures staff communicate effectively, maintaining professionalism and consistency in delivering exceptional service.
Service Sequence in Fine Dining
The service sequence in fine dining involves greeting guests, presenting menus, taking orders, serving food and beverages with precision, handling payments, and ensuring a seamless experience.
Greeting and Seating Guests
Greeting and seating guests is the first impression in fine dining. Staff should welcome guests with a smile, confirm reservations, and accommodate seating preferences. Ensure a smooth transition by offering menus and introducing the server. This step sets the tone for an exceptional dining experience, emphasizing hospitality and attentiveness. Proper seating arrangements and a warm greeting are crucial for creating a positive initial impression, reflecting the restaurant’s commitment to excellence and guest satisfaction.
Presenting Menus and Taking Orders
Presenting menus and taking orders is a critical step in fine dining service. Staff should confidently introduce the menu, highlight specials, and make recommendations. Ensure guests understand the offerings and address any dietary restrictions or preferences. Orders should be taken accurately, repeating back to confirm. This step requires attention to detail, clear communication, and a professional demeanor to create a seamless experience. Proper execution enhances guest satisfaction and sets the stage for a memorable meal, reflecting the restaurant’s commitment to excellence and personalized service.
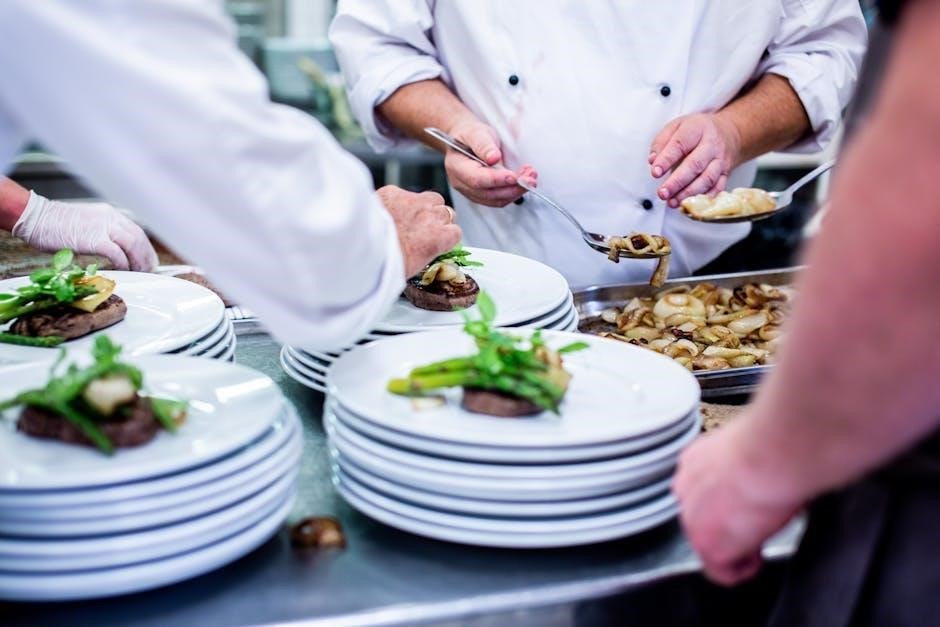
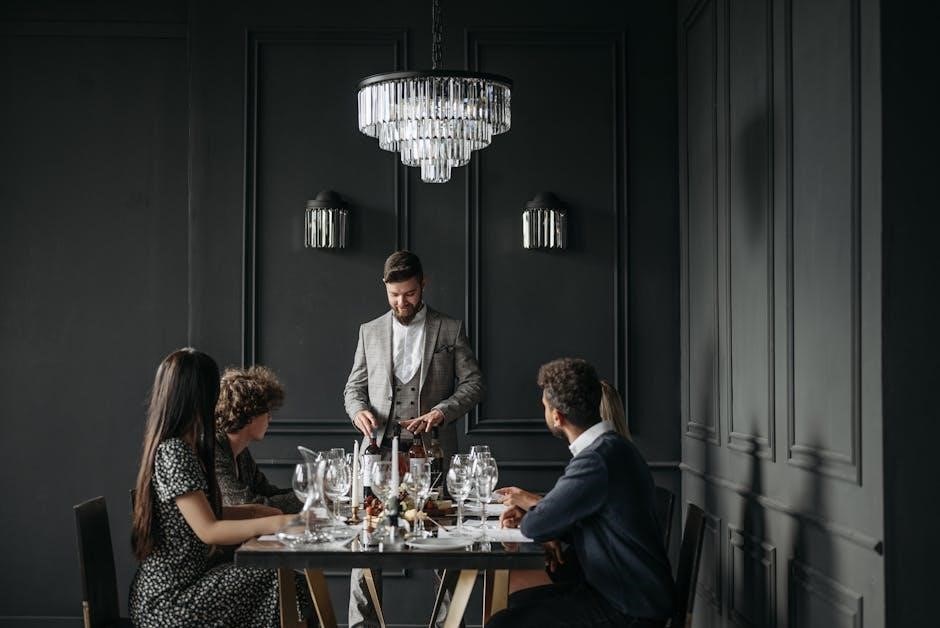
Serving Food and Beverage with Precision
Serving food and beverage with precision is a cornerstone of fine dining; Staff must deliver dishes and drinks in a synchronized manner, ensuring timing and presentation align with restaurant standards. Attention to detail is crucial, from placing utensils correctly to handling wine service with care. Servers should maintain a clean and organized workspace, anticipate guest needs, and address any requests promptly. This step requires coordination, grace, and a focus on enhancing the dining experience, ensuring every guest feels valued and impressed by the service quality and professionalism displayed.
Handling Payments and Final Interactions
Handling payments and final interactions require efficiency and discretion. Present the check with a smile, ensuring accuracy in the bill and processing payments promptly. Be prepared to handle special requests, such as splitting bills or accepting multiple payment methods. Maintain professionalism during this final stage, thanking guests for their visit and inviting them to return. A smooth payment process and warm farewell leave a lasting positive impression, ensuring guest satisfaction and loyalty to the establishment.

Staff Training and Development
Staff training and development are crucial for ensuring service excellence, fostering professionalism, and maintaining brand standards in fine dining establishments through comprehensive programs and ongoing education.
Recruitment and Initial Training Process
Recruitment in fine dining focuses on hiring staff who align with the restaurant’s culture and standards. The initial training process ensures new hires understand service protocols, etiquette, and menu knowledge. It includes hands-on training, role-playing, and mystery dining evaluations to assess service quality. This comprehensive approach ensures consistency, professionalism, and alignment with brand identity, setting the foundation for exceptional customer experiences and continuous improvement in service delivery.
Ongoing Education and Refresher Courses
Ongoing education and refresher courses are crucial for maintaining high standards in fine dining service. Regular training sessions ensure staff stay updated on service protocols, menu knowledge, and hospitality skills. Mystery dining programs and performance evaluations help identify areas for improvement. Refresher courses reinforce service consistency, adapt to new trends, and build staff confidence. This continuous learning fosters a culture of excellence, ensuring the restaurant maintains its brand identity and delivers exceptional customer experiences consistently.
Role-Playing and Practical Exercises
Role-playing and practical exercises are vital for mastering fine dining service skills. These interactive sessions simulate real-life scenarios, allowing staff to practice greeting guests, presenting menus, and handling special requests. By replicating actual dining situations, employees build confidence and refine their techniques. Practical exercises ensure seamless service delivery, while role-playing helps staff anticipate and respond to diverse guest needs effectively. These hands-on approaches enhance teamwork, improve adaptability, and ensure a polished, professional performance in the dining room.
Wine Service in Fine Dining
Wine service in fine dining elevates the culinary experience by expertly pairing wines with dishes, requiring staff to possess comprehensive knowledge and refined presentation skills.
Basic Wine Knowledge for Servers
Understanding wine fundamentals is crucial for servers in fine dining. This includes knowing major wine categories, such as red, white, sparkling, and dessert wines, as well as popular grape varieties like Chardonnay, Cabernet Sauvignon, and Pinot Noir. Servers should be familiar with key wine-producing regions, such as Bordeaux, Tuscany, and Napa Valley, and basic wine characteristics, including tannins, acidity, and sweetness. Additionally, they should grasp essential food-pairing principles to guide guests in selecting wines that complement their meals, enhancing the dining experience.
Wine Pairing and Recommendations
Wine pairing enhances the dining experience by harmonizing flavors between dishes and wines. Servers should understand how to match wine profiles with menu items, considering factors like acidity, tannins, and sweetness. For example, crisp whites like Sauvignon Blanc complement seafood, while bold reds like Cabernet Sauvignon pair well with red meat. Recommending wines based on guest preferences and menu choices demonstrates expertise and elevates service quality, ensuring a memorable culinary experience for diners.
The Role of a Sommelier in Fine Dining
A sommelier is a wine expert whose role is to elevate the dining experience by selecting and pairing wines that complement the menu. They possess deep knowledge of wine regions, grape varieties, and pairing techniques. Beyond recommendations, sommeliers train staff, manage wine lists, and ensure proper wine service. Their expertise enhances guest satisfaction and contributes to the restaurant’s reputation for excellence, making them a crucial part of fine dining service.

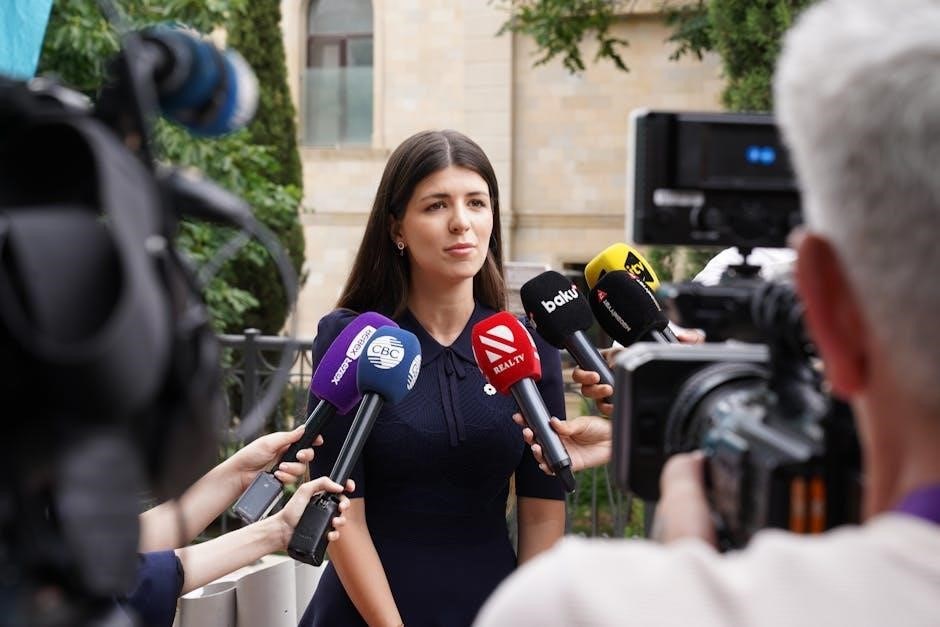
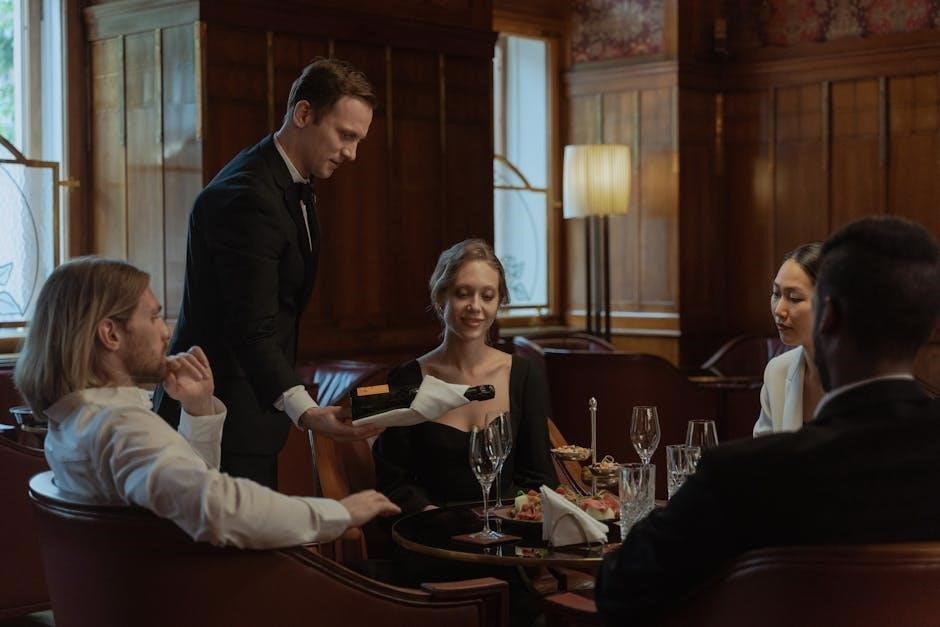
Guest Interaction and Communication
Effective guest interaction involves attentive service, clear communication, and genuine engagement, ensuring a memorable dining experience by anticipating needs and maintaining a balance between availability and discretion.
Effective Communication Techniques
Effective communication in fine dining involves active listening, clear articulation, and non-verbal cues like body language and eye contact. Servers should maintain a balance between attentiveness and discretion, avoiding interruptions. Personalizing interactions by addressing guests by name and tailoring recommendations enhances the experience. Staff should be trained to handle special requests with patience and knowledge, ensuring seamless service. These techniques foster a positive and memorable dining experience, aligning with the restaurant’s brand and service standards;

Anticipating and Meeting Guest Needs
Anticipating guest needs is crucial in fine dining, requiring servers to be observant and proactive. This includes refilling drinks before they’re empty, clearing plates discreetly, and addressing preferences without prompting. Staff should balance attentiveness with discretion, ensuring guests feel cared for without being interrupted. Handling special requests, such as dietary restrictions or preferences, with grace and efficiency demonstrates professionalism. By anticipating needs, servers create a seamless and memorable dining experience, showcasing their dedication to exceptional service and attention to detail.
Handling Special Requests and Preferences
Handling special requests and preferences is a cornerstone of fine dining service. Staff must gracefully accommodate dietary restrictions, seating preferences, and unique demands while maintaining professionalism. Whether it’s a rare food allergy or a specific wine pairing, servers should address these needs with precision and discretion. Anticipating guest preferences, such as refilling drinks or adjusting pacing, enhances the dining experience. By balancing attentiveness with discretion, staff ensure guests feel valued and cared for, creating a memorable and tailored experience that reflects the restaurant’s commitment to excellence.
Dining Room Setup and Maintenance
A well-organized dining room enhances guest experience. Proper table settings, ambiance, and station assignments ensure efficiency. Maintaining cleanliness and hygiene upholds high standards and professionalism in service;
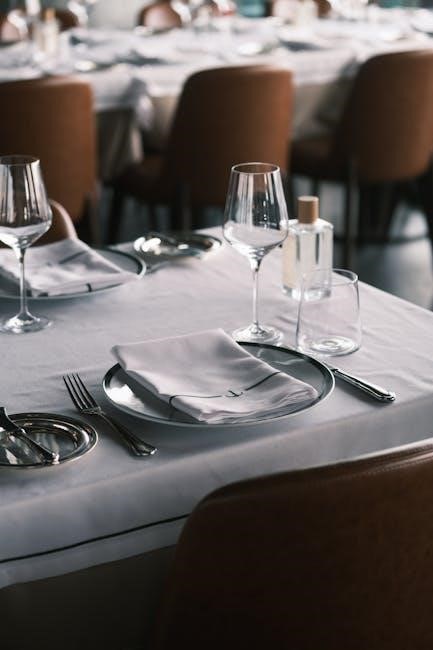
Table Settings and Ambiance
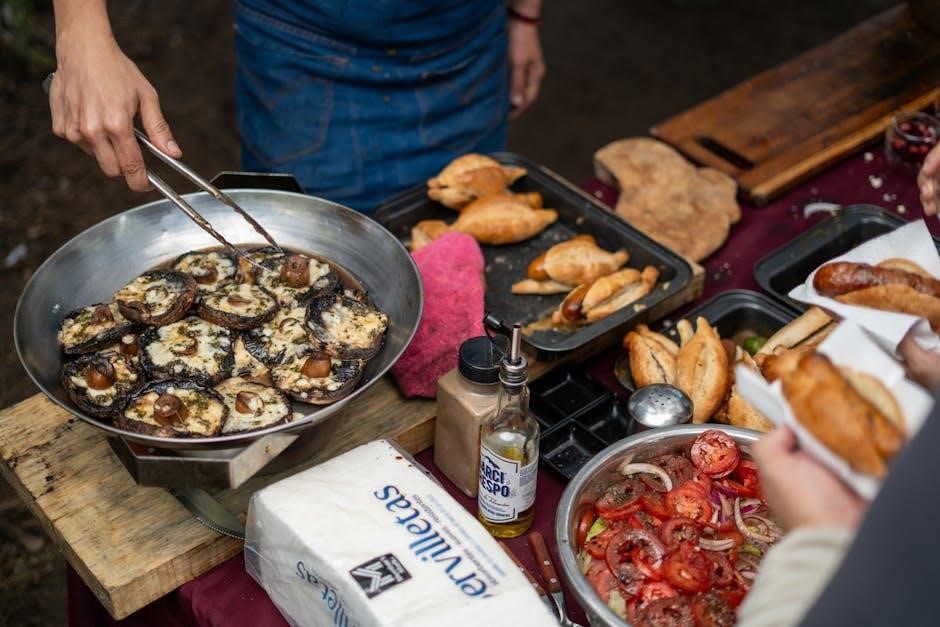
Proper table settings and ambiance are crucial for creating an elegant dining experience. Fine dining establishments require meticulous attention to detail, including polished silverware, crisp linens, and appropriate glassware. The arrangement should reflect the restaurant’s brand identity, ensuring consistency and sophistication. Ambiance is equally important, with lighting, music, and decor contributing to a refined atmosphere. A well-set table and inviting ambiance set the tone for exceptional service, making guests feel valued and enhancing their overall dining experience.
Maintaining Cleanliness and Hygiene
Maintaining cleanliness and hygiene is paramount in fine dining to ensure a safe and pleasant experience for guests. Staff must adhere to high standards, including frequent handwashing, sanitizing surfaces, and proper waste disposal. Cleanliness extends to uniforms, utensils, and dining areas, reflecting the restaurant’s commitment to quality. Regular inspections and training on hygiene protocols are essential to uphold these standards, ensuring a pristine environment that aligns with the restaurant’s brand and guest expectations for excellence and sophistication.
Organizing Stations and Assigning Responsibilities
Organizing stations and assigning responsibilities is crucial for efficient service in fine dining. Dining areas are divided into numbered or labeled stations, each containing 3-5 tables. This structure helps staff understand their duties and table assignments. A clear station diagram provided during training aids in learning table numbers and responsibilities. Assigning specific tasks ensures seamless coordination, with each team member knowing their role. This organization enhances service efficiency, consistency, and guest satisfaction, aligning with the restaurant’s brand standards and operational goals for a polished dining experience.
Technology in Fine Dining Service
Technology enhances fine dining service efficiency through POS systems, reservation management, and digital tools, streamlining operations and improving the guest experience.
Using POS Systems Efficiently
Efficient use of POS systems streamlines fine dining operations, enabling seamless order management, accurate billing, and swift payment processing. Staff training ensures quick navigation of the system, minimizing delays. Integration with kitchen displays and inventory management enhances coordination, reducing errors. POS systems also provide valuable insights into sales trends and customer preferences, aiding in menu planning and inventory control. Regular updates and staff proficiency in POS operations are crucial for maintaining smooth service flow and enhancing the overall dining experience.
Managing Reservations and Waitlists
Effective reservation and waitlist management is crucial for a seamless fine dining experience. Staff should use digital tools to track bookings, reduce wait times, and ensure accurate seating arrangements. Clear communication with guests about availability and delays is essential. Regular training on reservation systems helps staff efficiently manage tables and waitlists, minimizing congestion and enhancing guest satisfaction. This process ensures a smooth flow of service, maintaining the restaurant’s reputation for professionalism and hospitality.
Integrating Digital Tools for Enhanced Service
Digital tools play a vital role in modern fine dining service, enhancing efficiency and guest satisfaction. From POS systems to reservation management software, these technologies streamline operations, reduce wait times, and improve communication. Staff should be trained to use these tools effectively, ensuring seamless service delivery. Digital platforms also enable real-time updates on table availability, menu items, and special requests, allowing staff to anticipate guest needs proactively. Proper integration of these tools elevates the dining experience, making it more personalized and efficient while maintaining high service standards.
Brand Identity and Consistency
A fine dining service training manual ensures staff align with the restaurant’s brand identity, maintaining consistent service standards and professionalism to create a cohesive, high-quality guest experience.
Upholding Restaurant Brand Standards
A fine dining service training manual is crucial for upholding restaurant brand standards by standardizing service protocols and minimizing inconsistencies. It ensures all staff deliver consistent, high-quality experiences aligned with the restaurant’s identity. The manual outlines clear expectations, fostering professionalism and attention to detail. By standardizing procedures, it helps maintain the restaurant’s reputation and ensures a cohesive, memorable dining experience for guests.
Creating a Memorable Dining Experience
A fine dining service training manual plays a pivotal role in crafting memorable experiences by standardizing service protocols and minimizing errors. It ensures staff deliver consistent, high-quality interactions, from greeting guests to presenting menus and serving dishes with precision. By fostering attention to detail and personalized service, the manual helps create a seamless, immersive experience. This approach not only enhances guest satisfaction but also builds loyalty, ensuring diners leave with lasting impressions of excellence and hospitality.
Ensuring Consistency in Service Delivery
A fine dining service training manual ensures consistency by standardizing protocols and aligning staff with restaurant standards. It minimizes inconsistencies, reduces errors, and builds confidence in new hires. By providing clear expectations and fostering professionalism, the manual helps maintain uniform service delivery. This consistency is key to meeting guest expectations, ensuring a seamless experience, and fostering customer satisfaction and loyalty. Regular refresher training and adherence to the manual further reinforce these standards, guaranteeing a high level of service quality across all interactions.
A fine dining service training manual ensures consistency, enhances customer satisfaction, and fosters professionalism, setting the foundation for continuous improvement and future excellence in hospitality.
Continuous Improvement in Fine Dining Service
Continuous improvement in fine dining service involves regular staff training, feedback mechanisms, and adapting to evolving trends. Mystery dining programs and refresher courses help maintain high standards, ensuring staff stay aligned with restaurant goals. By fostering a culture of learning and refinement, establishments can enhance customer satisfaction and stay competitive. A well-structured training manual serves as a cornerstone, guiding ongoing development and ensuring consistency in service delivery.
The Impact of Proper Training on Customer Satisfaction
Proper training significantly enhances customer satisfaction in fine dining by ensuring consistent, high-quality service. A well-structured training manual standardizes protocols, minimizing errors and building staff confidence; Servers trained to anticipate needs, communicate effectively, and deliver flawless service create memorable experiences. Regular feedback and mystery dining programs further refine performance, ensuring alignment with restaurant standards. When staff are knowledgeable and attentive, guests feel valued, leading to increased loyalty and positive reviews, ultimately driving the restaurant’s success and reputation in the competitive fine dining industry.
Future Trends in Fine Dining Service Training
Future trends in fine dining service training emphasize technology integration, personalized guest experiences, and sustainability practices. Restaurants are adopting digital tools like POS systems and reservation management software to streamline operations. Training programs now focus on teaching staff to use these technologies seamlessly. Additionally, there is a growing emphasis on sustainability, with training manuals incorporating eco-friendly practices. Continuous education and adaptability are key, as staff must stay updated on evolving trends to deliver exceptional service and maintain high standards in the competitive fine dining industry.