Living with Art by Mark Getlein is a comprehensive guide to understanding and appreciating visual arts, providing tools to analyze and connect with art in everyday life․
1․1 Understanding the Concept of “Living with Art”
Living with Art explores the integration of art into daily life, emphasizing its universal presence and impact․ It encourages viewers to engage with art critically, fostering appreciation and understanding․ The concept revolves around recognizing art in various forms, from personal surroundings to cultural expressions, and understanding its role in shaping identities and experiences․ By providing a foundation in art history, elements, and principles, it equips individuals to connect with art on a deeper, more personal level, enriching their lives with meaning and creativity․
1․2 The Importance of Art in Everyday Life
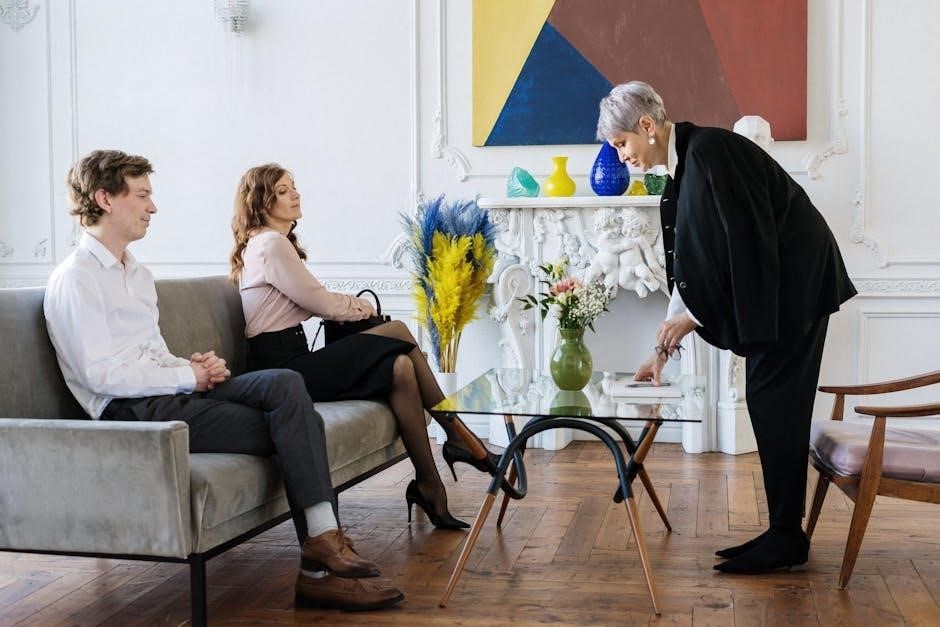
Art is an integral part of daily life, influencing environments, cultures, and identities․ It shapes public spaces, inspires fashion, and informs media, fostering creativity and emotional connection․ Living with Art highlights how art creates meaningful experiences, from the monuments in communities to personal expressions․ By understanding art’s role, individuals can appreciate its impact on their surroundings and lives, fostering a deeper connection to the world around them and encouraging lifelong engagement with creative expression․
1․3 Overview of the “Living with Art” PDF Resource
The Living with Art PDF resource is a comprehensive guide designed to help students and enthusiasts understand and appreciate the visual arts․ It covers art from diverse cultures, historical periods, and mediums, offering insights into the elements of art, principles of design, and artistic techniques․ The resource includes interactive features, video content, and test banks to enhance learning․ By fostering a deeper connection to art, it encourages readers to see art in everyday life and develop a lifelong enthusiasm for creative expression and cultural understanding․
Elements of Art
The Elements of Art in the PDF include color, line, shape, form, texture, and space, serving as the foundation for understanding and analyzing visual compositions effectively․
2․1 Color and Its Role in Art
Color is a fundamental element of art, playing a crucial role in evoking emotions and creating moods․ In Living with Art, color theory is explored, explaining how hues, saturation, and contrast influence compositions․ The color wheel is introduced as a tool to understand primary and secondary colors, while discussions on warm and cool tones highlight their psychological effects․ Artists use color to guide viewer attention, create depth, and express themes, making it a powerful tool in visual communication․ This section helps readers appreciate how color transforms and enhances artistic expression․
2․2 Line, Shape, and Form
Line, shape, and form are fundamental elements of art that create structure and guide the viewer’s eye․ A line can express movement, emotion, or direction, while shapes, whether geometric or organic, define self-contained areas․ Form refers to three-dimensional objects, often created through depth and contour․ Together, these elements help artists convey meaning and establish composition․ In Living with Art, these concepts are explored to enhance understanding of how they contribute to the visual language of art, enabling deeper appreciation of artistic expression across various mediums․
2․3 Texture and Space
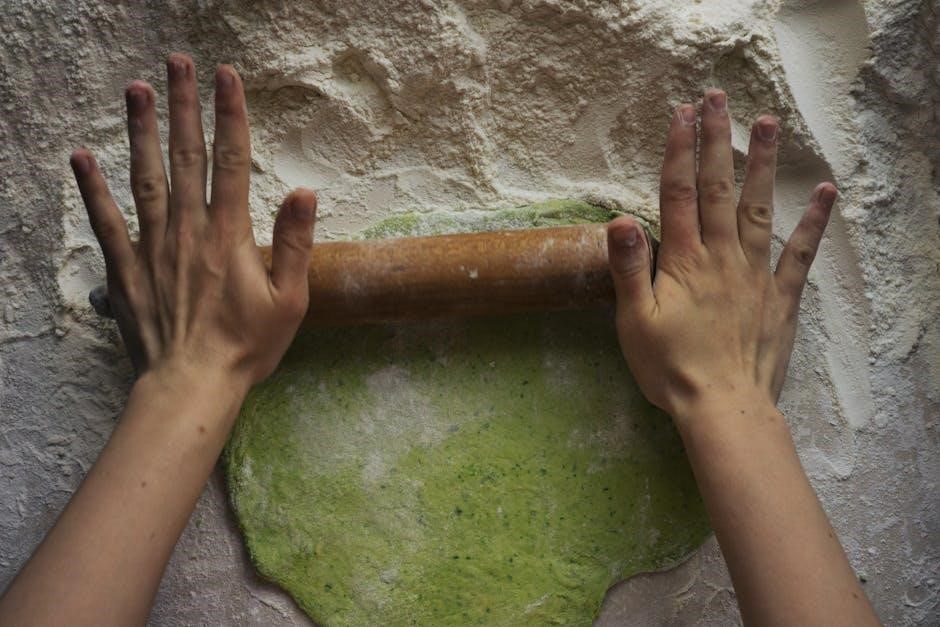
Texture and space are essential elements in art that enhance composition and engagement․ Texture refers to the surface quality of an object, either real (tactile) or implied (visual), adding depth and emotion․ Space creates a sense of depth, atmosphere, and distance, guiding the viewer’s eye․ Artists use techniques like perspective, overlapping, and contrast to manipulate space, while texture can evoke sensory reactions․ Together, these elements enrich the visual experience, helping artworks feel dynamic and immersive, as explored in Living with Art to deepen artistic understanding․

Principles of Design
The principles of design—balance, contrast, emphasis, movement, pattern, and unity—guide artistic composition, ensuring harmony and visual impact in works of art, as detailed in Living with Art․
3․1 Balance and Contrast
Balance in art refers to the distribution of visual weight, achieved through symmetry or asymmetry, creating stability․ Contrast, on the other hand, emphasizes differences, such as light and dark or color and shape, to draw attention․ Together, these principles enhance composition, guiding the viewer’s eye and creating dynamic visual experiences․ In Living with Art, these concepts are explored to help students understand how artists use balance and contrast to communicate ideas effectively, making artworks more engaging and thought-provoking․
3․2 Emphasis and Movement
Emphasis in art directs the viewer’s attention to a specific point, often using visual elements like color, size, or placement․ Movement creates a sense of energy or direction, guiding the eye through the composition․ Artists achieve this through lines, shapes, or repetition․ In Living with Art, these principles are explored to show how they enhance engagement and convey meaning․ Understanding emphasis and movement helps deepen appreciation of how artworks communicate ideas and evoke emotions, making art more accessible and impactful in everyday life․
3․3 Pattern and Unity
Pattern in art involves the repetition of shapes, colors, or lines, creating rhythm and texture․ Unity is achieved when all elements harmonize, forming a cohesive composition․ Artists use balance and contrast to ensure unity, while patterns add complexity․ In Living with Art, these principles are explored to show how they create visually engaging and meaningful works․ Understanding pattern and unity helps viewers appreciate how artists organize elements to communicate ideas effectively, enhancing the overall impact of the artwork․
Artistic Mediums
Artistic mediums encompass a wide range of materials and techniques, from painting and drawing to sculpture, photography, and digital art, each offering unique ways to express creative vision․
4․1 Painting and Drawing
Painting and drawing are fundamental artistic mediums that explore color, composition, and expression․ Techniques like watercolor, oil, and ink allow artists to create diverse styles, from realistic to abstract․ Drawing, using tools like pencils or charcoal, focuses on line, form, and texture․ These mediums enable personal expression and stylistic innovation, making them central to art appreciation and creativity․ They also provide a foundation for understanding art elements such as color, line, and form, while offering insights into cultural and historical contexts through their evolution and applications․
4․2 Sculpture and Three-Dimensional Art
Sculpture and three-dimensional art are essential mediums for creating tactile and visually engaging pieces․ Artists use materials like stone, metal, and clay to craft objects that occupy physical space․ Techniques such as carving, casting, and assembling allow for diverse expressions, from realistic forms to abstract designs․ Sculpture serves various purposes, including commemoration, decoration, and conceptual expression․ Its three-dimensional nature invites viewer interaction and exploration from multiple perspectives․ This medium has been central to cultural and historical narratives, reflecting societal values and artistic innovation across different periods․ Contemporary practices continue to push boundaries, incorporating new materials and technologies, thus evolving the art form while maintaining its traditional essence․
4․3 Photography and Digital Art
Photography and digital art have revolutionized how we capture, transform, and interact with visual content․ Photography, as a medium, captures moments in time, offering a lens into reality and imagination․ Digital art expands creative possibilities through software, enabling manipulation and innovation․ Both mediums have become integral to modern art, blending technical skill with artistic expression․ They democratize art creation, making it accessible to a broader audience․ From fine art to commercial use, these mediums continue to evolve, reflecting technological advancements and cultural shifts, while maintaining their ability to inspire and connect people globally․

Cultural and Historical Context
Cultural and historical contexts shape artistic expression, reflecting societal values, traditions, and events․ Understanding these frameworks enriches art appreciation, revealing deeper meanings and connections across time and cultures․
5․1 Art from Diverse Cultures
Art from diverse cultures offers insights into the unique traditions, beliefs, and aesthetics of different societies․ From African sculptures to Asian calligraphy, each culture’s art reflects its history and values․ The “Living with Art” PDF highlights how cultural diversity enriches global artistic heritage, fostering cross-cultural understanding․ By exploring these works, readers gain a broader perspective on the universal language of art and its role in shaping identities worldwide․
5․2 Historical Periods and Art Movements
Historical periods and art movements are explored in depth, tracing the evolution of art through time․ From Renaissance masterpieces to Modernist innovations, the “Living with Art” PDF provides insights into key styles and their cultural contexts․ Movements like Impressionism, Cubism, and Abstract Expressionism are analyzed, highlighting their impact on artistic development․ This section equips readers with a chronological understanding of art history, enabling them to appreciate the creativity and innovation that define each era and movement․
The Role of Art in Everyday Life
Art influences communities, fashion, media, and personal environments, inspiring creativity and reflecting cultural values in our daily experiences and interactions with the world around us․
6․1 Public Art and Community Engagement
Public art transforms communities by creating shared spaces that inspire dialogue and connection․ Murals, sculptures, and installations engage residents, fostering pride and cultural identity; Beyond aesthetics, public art often serves functional purposes, such as commemorating history or addressing social issues․ Digital platforms and interactive exhibits further enhance accessibility, enabling broader participation․ Through these efforts, art becomes a catalyst for unity, reflection, and collective expression, emphasizing its vital role in enriching daily life and fostering community bonds․
6․2 Art in Fashion and Media
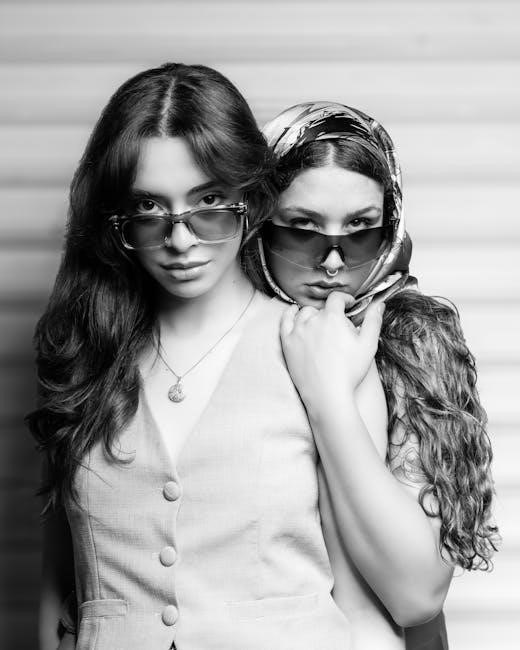
Art deeply influences fashion and media, blending creativity with functionality․ Designers draw inspiration from artistic movements, translating colors, patterns, and textures into wearable art․ Media platforms amplify this connection, showcasing art-inspired trends and digital creations․ From runway designs to social media, art evolves into a dynamic dialogue between culture and aesthetics, reflecting and shaping societal tastes while enriching our daily visual experiences․

Practical Applications of Art Appreciation
Learning to appreciate art fosters personal growth and enriches daily life, offering tools to engage with art communities and build meaningful collections․
7․1 How to Start an Art Collection
Starting an art collection involves defining your personal style, setting a budget, and exploring galleries, art fairs, or online platforms․ Consider purchasing works that resonate emotionally or reflect cultural significance․ Begin with affordable pieces, such as prints or emerging artists, to build your collection gradually․ Research the artist’s background and ensure authenticity through certificates or provenance․ Engaging with local art communities and seeking guidance from professionals can also enhance your journey in collecting meaningful art․
7․2 Engaging with Art Communities
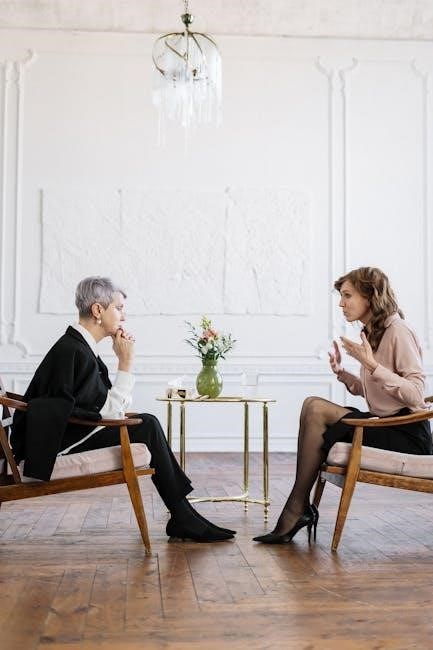
Engaging with art communities enriches your appreciation and knowledge of art․ Participate in local gallery events, museum workshops, and online forums to connect with artists and enthusiasts․ Interactive exercises and educational resources, like those in the Living with Art platform, offer opportunities to deepen your understanding․ Joining art clubs or attending lectures can further enhance your engagement․ By actively participating in these communities, you foster a lifelong enthusiasm for art and gain insights into diverse cultural and historical contexts․
Living with Art fosters a lifelong enthusiasm for art by helping readers connect with it on a personal level, emphasizing its presence in diverse cultures, periods, and media․
8․1 The Future of Living with Art
The future of living with art lies in its evolving digital presence and interactive learning tools․ With editions like the 13th offering diverse cultural and historical insights, Living with Art continues to adapt, ensuring accessibility and engagement․ By integrating video content and exercises, it bridges traditional and modern art appreciation, fostering a deeper connection with visual arts in everyday life․
8․2 Encouraging a Lifelong Enthusiasm for Art
Living with Art fosters a lifelong enthusiasm for art by providing tools to analyze and appreciate visual arts․ It encourages exploration of diverse cultures, historical periods, and artistic mediums, inspiring readers to connect with art personally․ Interactive exercises and community engagement features help sustain interest, making art a continuous part of daily life․ By understanding art’s role in shaping identities and cultures, readers develop a lasting appreciation, ensuring art remains a vital, evolving force in their lives․